A filter can rescue a dull photo or ruin a good one. The difference is usually not the filter itself but whether it suits the picture. This guide explains what the common looks do, when each helps, and how to apply them in your browser without losing resolution.
What a filter actually changes
Most filters are combinations of a few simple adjustments:
- Brightness and contrast set how light the picture is and how far apart darks and lights sit.
- Saturation controls how strong the colours are. Zero is grayscale.
- Tint shifts the overall colour, as in sepia (brown) or a cool blue cast.
- Hue rotates every colour around the colour wheel.
A named preset such as "Vintage" or "Cinema" is just a stored recipe of these values, which you can then fine-tune.
When each look works
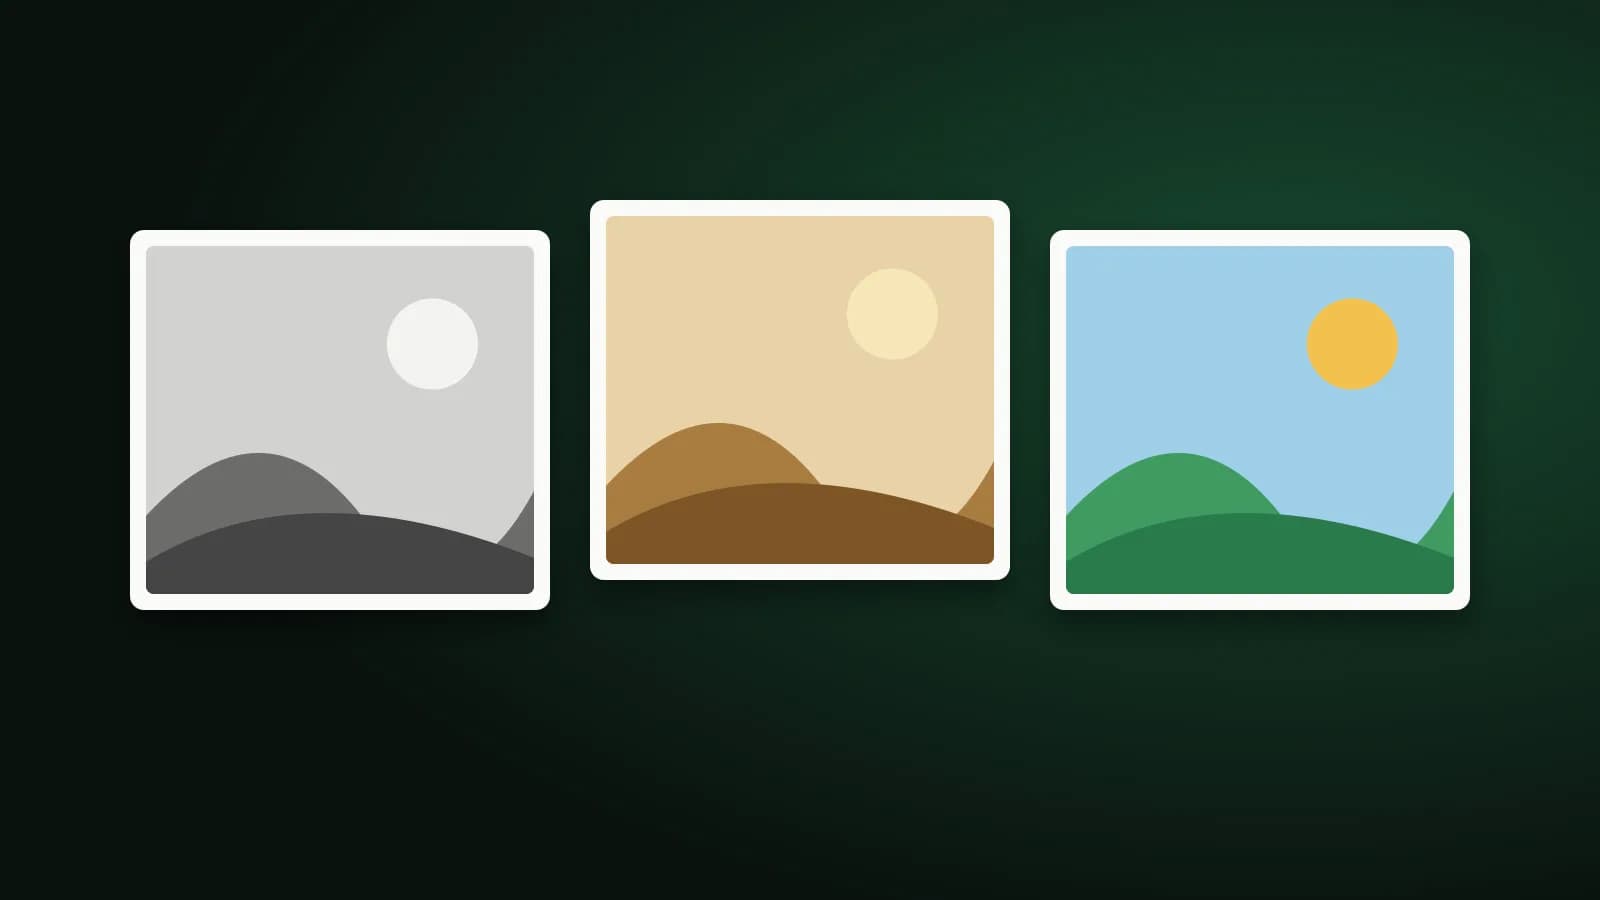
- Black and white hides distracting colours and puts attention on shape, light and expression. It rescues photos taken under mixed or ugly lighting, and suits portraits and architecture.
- Sepia and vintage add warmth and an old-print feel. They suit nostalgic subjects and family pictures, and look forced on modern product photos.
- Warm tones make a scene feel like late afternoon. Cool tones suit winter, water and technology.
- Vivid boosts colour. It helps flat holiday snapshots but can make skin look orange if overdone.
- Muted pulls colour back for a calm, editorial look.
- Dramatic and cinema raise contrast and darken the frame for mood. Use them on pictures with a clear subject.
- Invert swaps light and dark. It is rarely flattering on photos but useful for checking details or for graphics.
Apply a filter in your browser
- Open Add Filters and add a photo.
- Pick a preset and watch the live preview.
- Fine-tune brightness, contrast, saturation or hue with the sliders, or reset to start again.
- Download the result. The picture keeps its original width and height.
The editing happens in your browser, so the photo is not uploaded.
Tips for natural results
- Less is more. If you can tell a filter was used, it is probably too strong. Try half the intensity.
- Fix exposure first. A very dark picture will not be saved by a colour filter. Lift brightness before choosing a look.
- Keep skin tones believable. Check faces after applying warm, cool or vivid looks.
- Be consistent. For a set of pictures that will appear together, use the same look on all of them.
- Keep the original. Save the filtered picture as a copy.
Frequently asked questions
Does a filter reduce image quality?
The picture keeps its pixel dimensions. Saving as JPG applies some compression, so use Adjust Quality if file size matters.
Can I undo a filter?
Yes, use reset in the tool. Once you have downloaded a filtered file, keep your original so you can start again.
Can I combine a preset with my own changes?
Yes. Choose a preset, then adjust the sliders on top of it.
The short version
Pick a look that suits the subject, keep it subtle, and fix exposure before colour. Black and white is the most forgiving; strong colour effects need a lighter touch.