Every JPG export asks for a quality number, and most people leave it wherever the app put it. The setting has a large effect on file size and a surprisingly small effect on how the picture looks, up to a point. This guide shows where that point is and how to find it for your own images.
What the quality number means
JPG is a lossy format. When it saves a picture it discards fine detail, and the quality setting controls how much. A higher number keeps more detail and makes a bigger file; a lower number throws more away.
It is not a percentage of anything you can measure. "75" does not mean 75 percent of the original: it is a position on a scale, and the same number can look different on different pictures.
Rough guide to the range
- 90 and above: very close to the original and a much larger file. Useful for photos you plan to edit again.
- 75 to 85: the usual sweet spot for web use. The picture looks clean and the file is far smaller than at 95.
- 60 to 70: visibly softer on close inspection, but fine for thumbnails and small previews.
- Below 50: blocky areas and halos appear, especially around text and sharp edges.
These are guides, not rules. A photo of a plain sky shows compression much earlier than a busy street scene.
Adjust the quality of an image
- Open Adjust Quality and add a picture.
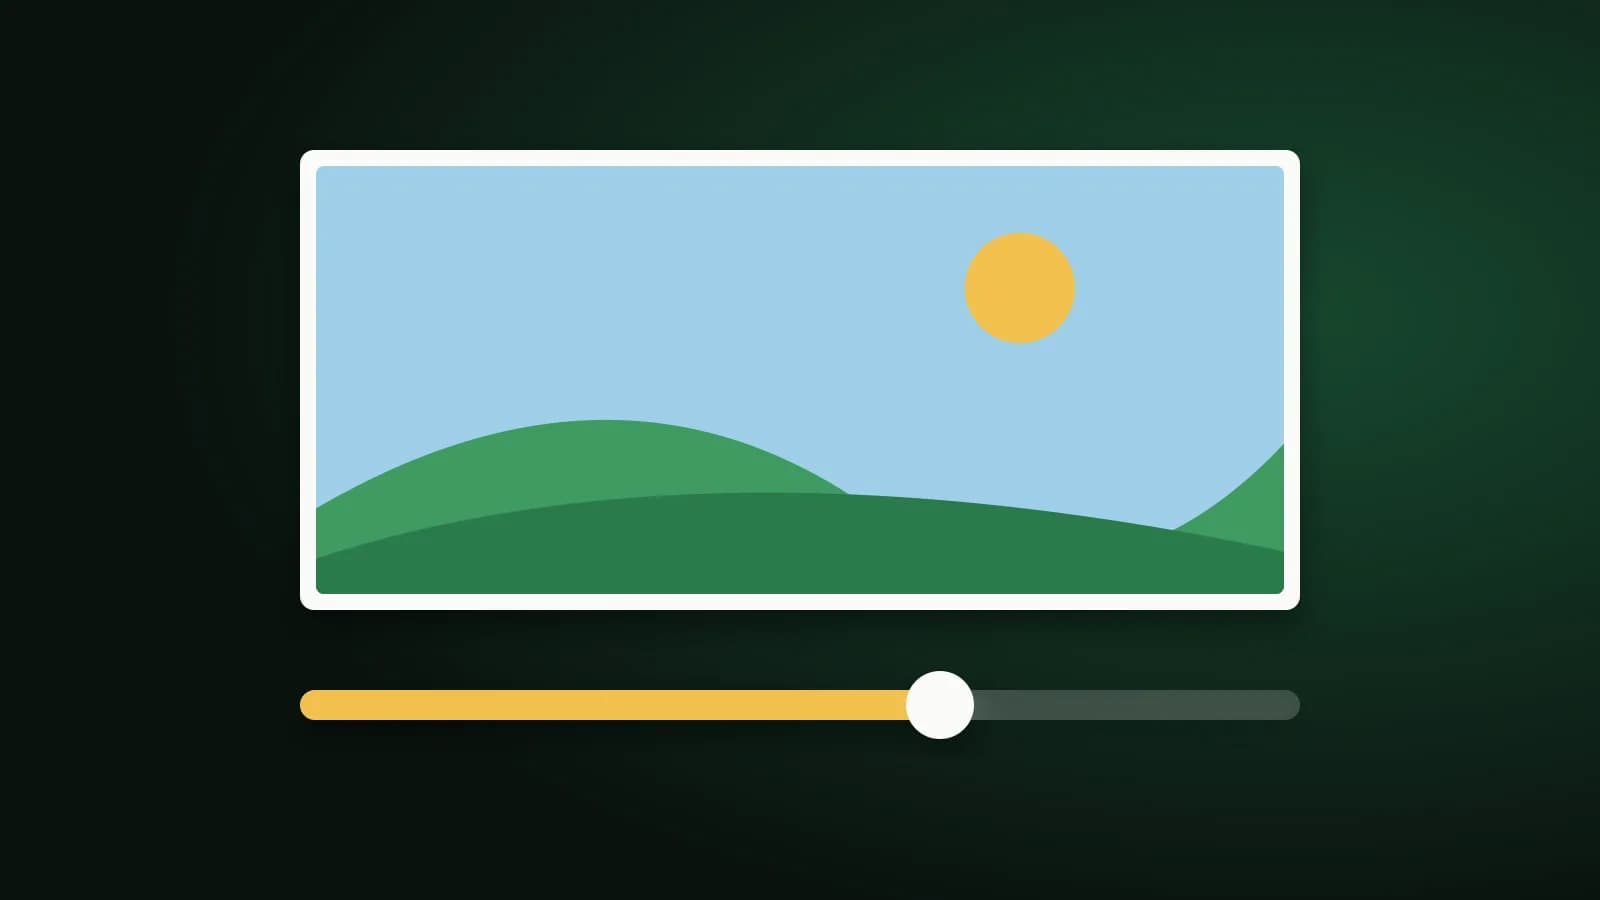
- Move the quality slider between 1 and 100 and watch the preview.
- Choose an output format and download the result. If you add several images, you can download them together as a ZIP.
Everything runs in your browser, so the photo is not uploaded. Quality does not change the pixel dimensions unless you also choose to scale the image.
Choose the right format first
PNG does not use a quality setting in the browser: it is lossless, so the slider has little to act on. If you want to trade quality for size, export as JPG or WebP. For a comparison of formats, see JPG vs PNG vs WebP.
Tips
- Compare at 100 percent. Zoom in to actual size rather than judging from a shrunken preview.
- Lower quality only once. Re-saving an already compressed JPG compounds the loss, so always start from the original.
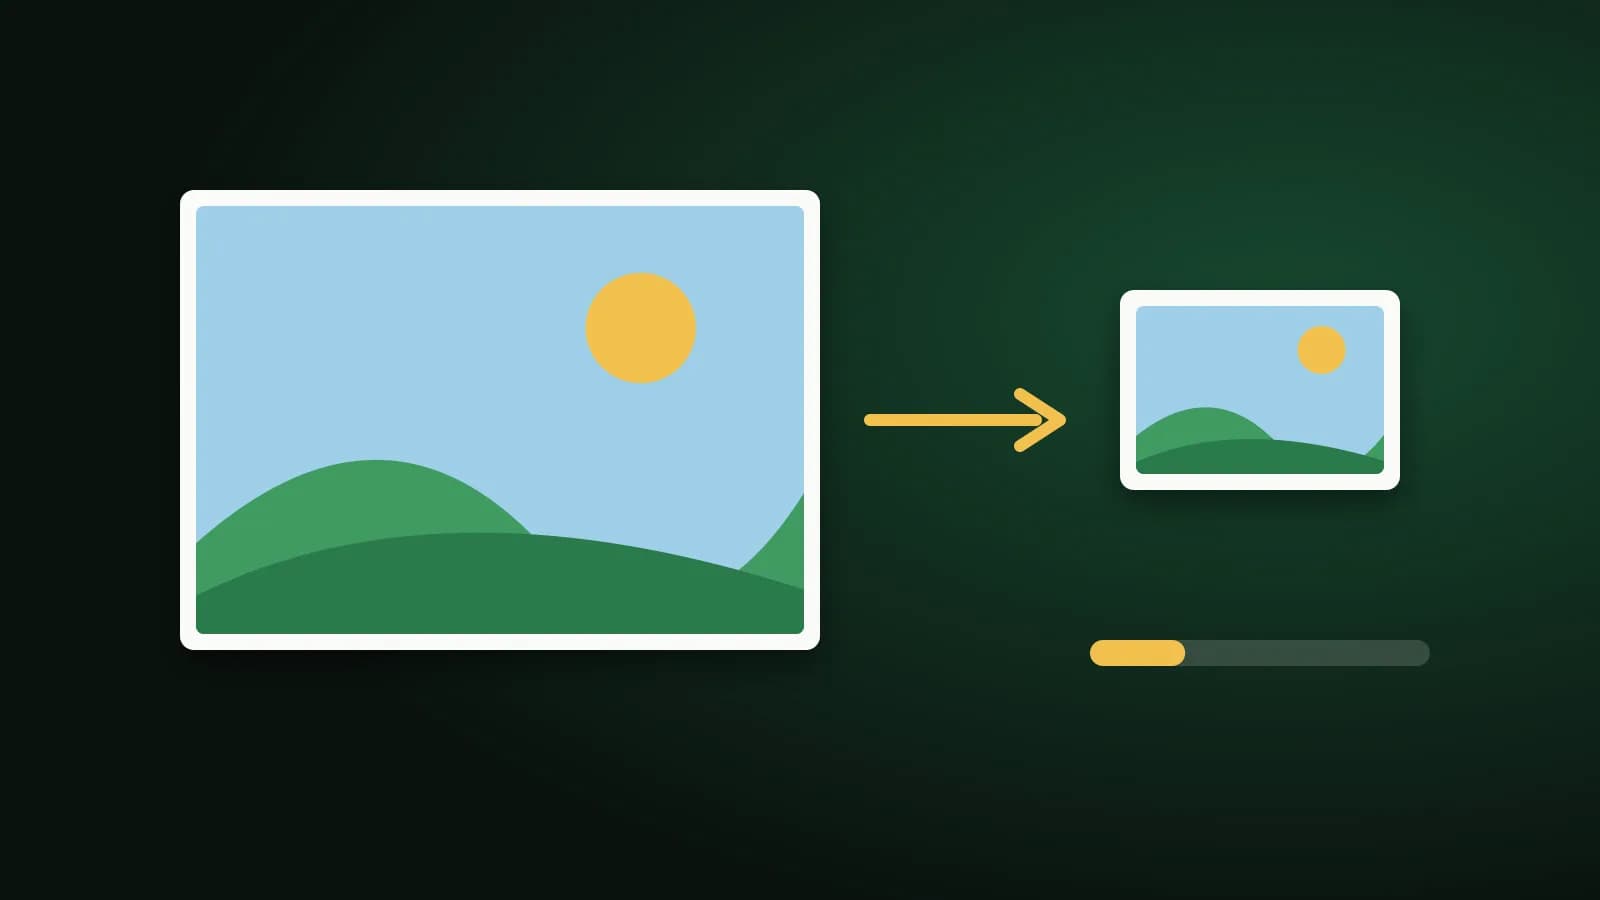
- Resize before you compress. A picture shown at 800 pixels wide does not need 4,000 pixels of detail. See Resize Image.
- Need an exact file size? Use Compress Image to 50KB or the 20 KB page and let the tool search for the quality that fits.
Frequently asked questions
What quality is best for a website?
Around 75 to 85 usually gives a sharp picture at a small size. Check the result at actual size.
Does lowering quality make the picture smaller on screen?
No. It reduces the file size, not the width and height in pixels.
Can I restore quality afterwards?
No. Detail removed by compression cannot be recovered, so keep your original.
The short version
Start near 80, compare at full size, and lower the number only while the picture still looks clean. Resize first when the image is larger than it needs to be.