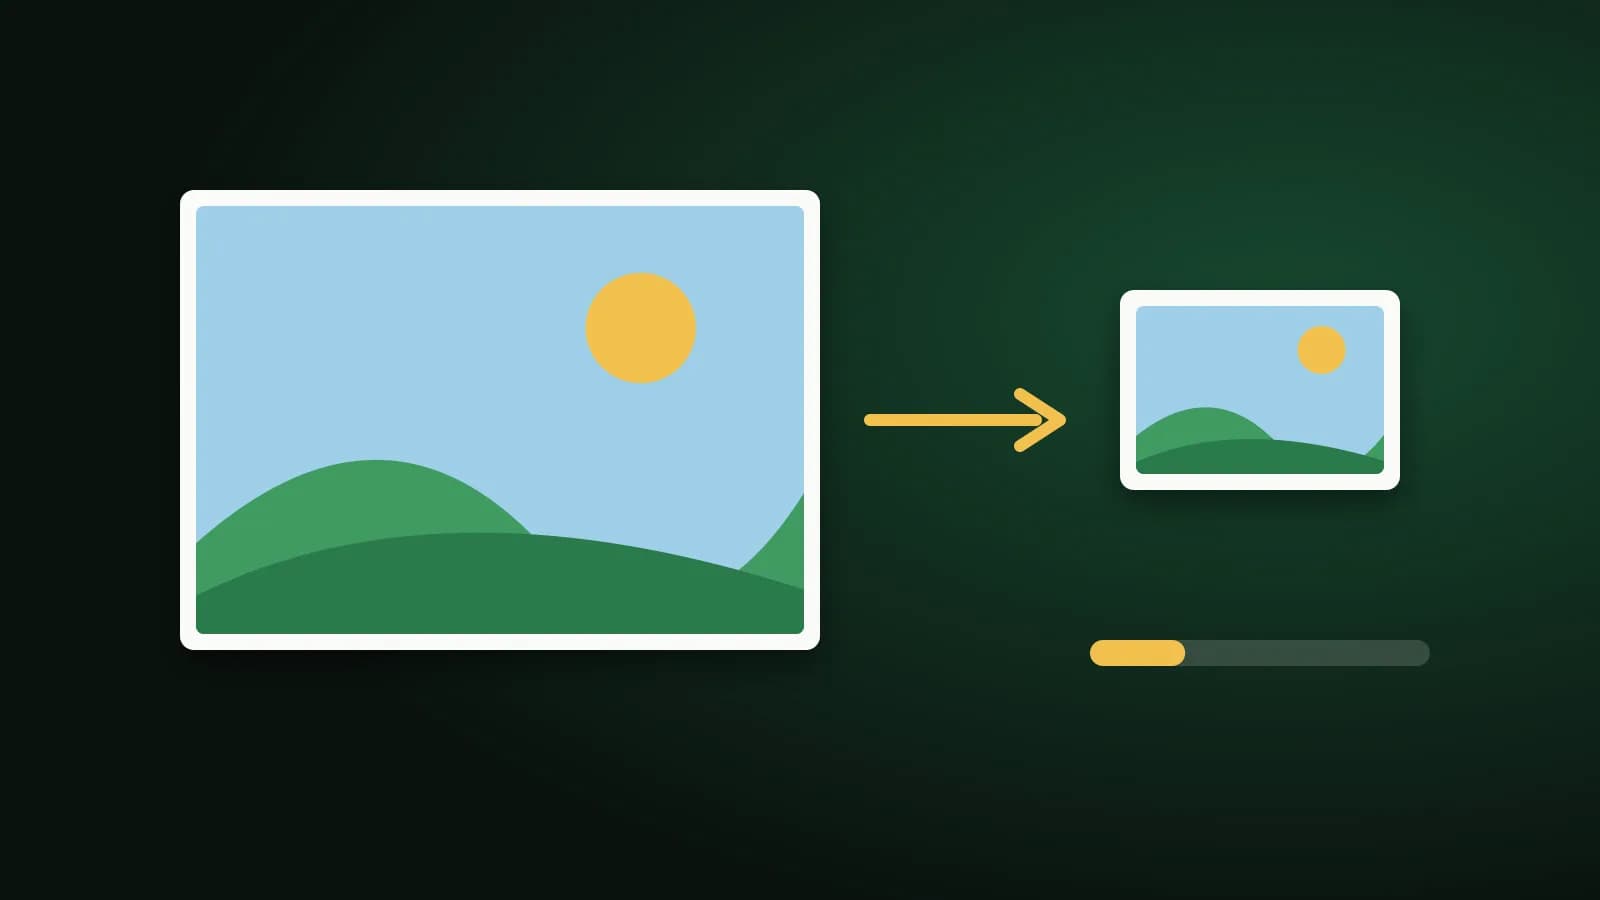
A form that rejects your picture because it is "over 50 KB" is rarely asking for a different picture, only for a lighter file. Compressing an image to 20 KB or 50 KB is a different job from simply making it smaller on screen, and knowing the difference saves a lot of trial and error.
Compressing is not the same as resizing
- Compressing lowers the number of bytes the file needs. For a JPG, that means a lower quality setting, which discards fine detail the eye notices least.
- Resizing changes the pixel dimensions. Fewer pixels means less data, so the file shrinks too, but the picture is also smaller when displayed.
To land under a hard limit you normally use both, in a sensible order: lower the quality a little first, and shrink the pixels only if quality alone is not enough. That keeps the picture as large and sharp as the limit allows.
What 20 KB and 50 KB can actually hold
Rough expectations for a JPG, depending on how busy the picture is:
- 20 KB suits a small portrait on a plain background, a logo, or a signature. A detailed landscape will look rough.
- 50 KB holds a clear, recognisable photo of a face, a product shot, or a single scanned page where the text is large enough to read.
Plain backgrounds and even lighting compress far better than cluttered scenes. If a picture will not fit, cropping out space you do not need often helps more than squeezing harder.
The quick way
Pick the page that matches the limit on your form:
Add a JPG, PNG, WebP or GIF. The tool tries JPG qualities from high to low and keeps the highest one that fits. If even the lowest acceptable quality is too large, it makes the picture a little smaller and tries again. It all runs in your browser, so the file is not uploaded, and each result shows its new size and dimensions so you can check before submitting. A picture that is already under the target is returned unchanged.
The tool aims for a size and tells you plainly when it cannot reach it. It does not promise an exact number: results usually land a little under the limit.
A checklist before you upload
- Read the form carefully. Is the limit a maximum, a range, or an exact size? Does it also require exact pixel dimensions or a particular format?
- Start from the original. A picture that was already compressed loses more each time it is saved again.
- Crop first. Remove edges and empty background so the file has less to store.
- Compress, then view at 100 percent. Check that a face or a signature is still clear.
- Keep a margin. Aim a few kilobytes under the limit in case the form counts size differently.
When you need exact dimensions too
The tool controls file size, not width and height. If the form wants, say, 200 by 230 pixels, set the dimensions first with Resize Image and compress the result afterwards. If you only need a lighter picture and no particular size, the general Compress Image tool gives you a quality slider and a live preview.
Frequently asked questions
Is compressing to 20 KB harmful to my photo?
It removes detail, so a very small target softens a photo. Starting from a clean, well-lit original and cropping tightly keeps the loss hard to notice.
Why do I always get a JPG?
JPG gives the smallest files for photographs and scans. PNG keeps every pixel, which is why a photo saved as PNG is often many times larger.
Can I compress several pictures at once?
Yes. Add up to 50 images and download them one by one or as a single ZIP.
Is my picture uploaded anywhere?
No. The compression is done by your browser and the picture stays on your device.
The short version
Lower the quality before you shrink the pixels, crop what you do not need, and check the result at full size. For a hard 20 KB or 50 KB limit, the compress pages do the searching for you and tell you honestly if the limit cannot be met.